Buying guide
How much does a bathroom renovation cost in NZ?
A new loo will cost you a few


AI summary
Bathroom renovation costs in NZ vary widely. A DIY refresh can be $5k-$20k, a standard budget renovation is $20k-$36k, and a mid-range project with structural changes costs $39k-$65k. Premium renos start from $65k+.
Your reason for renovating—whether to sell, rent, or for personal enjoyment—should inform your budget and design. To save money, avoid moving plumbing, minimize expensive tiling, and consider self-managing the project. Always insist on a fixed-price quote to prevent budget blowouts.
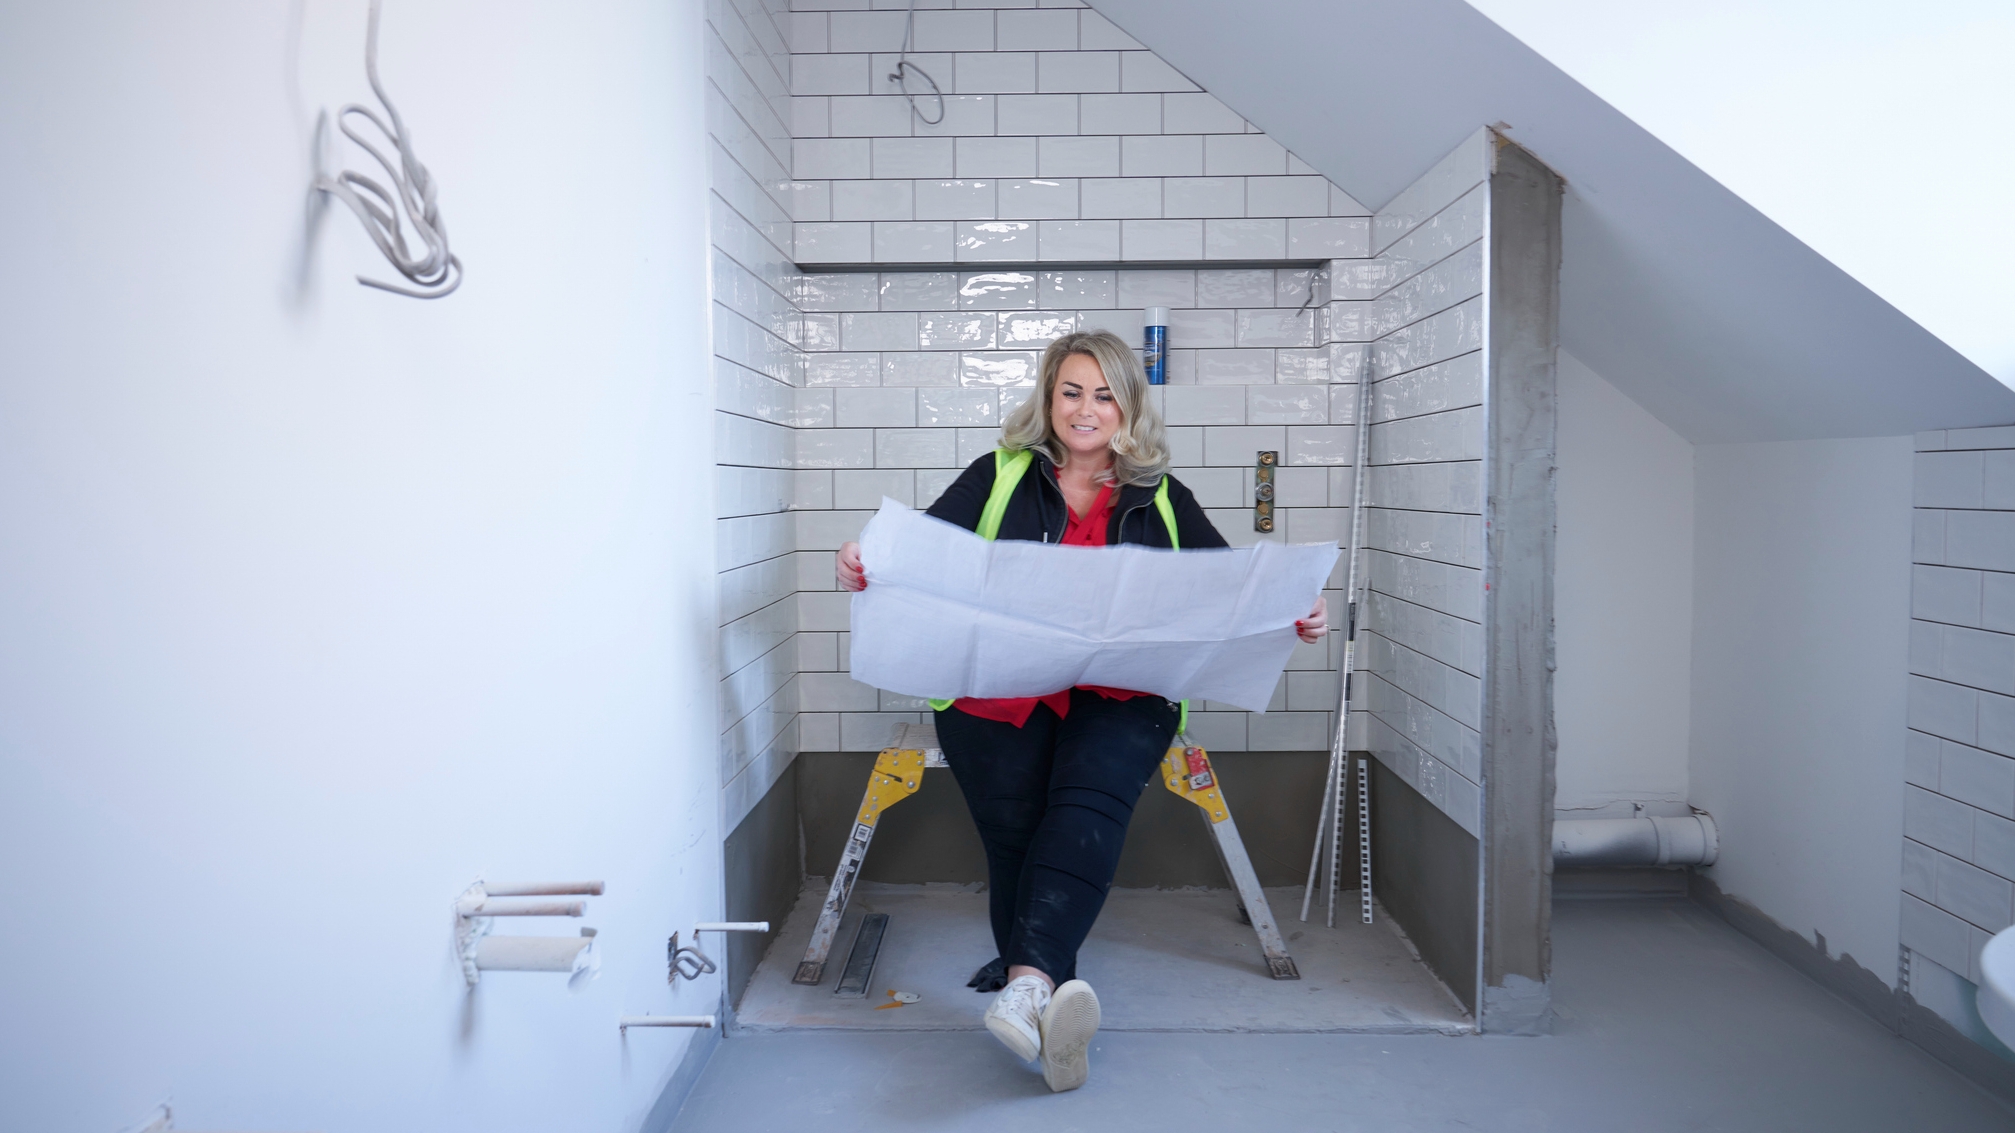
Renovating isn’t easy. It’ll most likely cost more than you expect, take longer than you plan for, and cause more stress than you’d hope - but when you’re done the difference could be incredible.
To help you reduce the stress and start planning, we’ve put together a comprehensive guide to bathroom renovation costs in NZ.
You'll learn:
- All about bathroom renovation cost ranges - from DIY to luxury
- How your reason for renovating should inform your decisions
- How to figure out your bathroom renovation budget in detail
- How long your bathroom renovation will take
- 9 ways to save money on a bathroom renovation
- Whether to self manage or hire a project manager
- How the bathroom renovation process works - Nine steps
Bathroom renovation costs: DIY, mid-range and Luxury
The cost of a bathroom renovation can vary hugely, depending on its size, the fixtures and material you use, if any structural changes are made, and the amount of labour required. You may be able to cut costs if you DIY, but be careful you don’t bite off more than you chew (more on DIY later).
DIY or a quick refresh - $5,000 to $20,000
- Combo of DIY and professional help (or all DIY)
Budget or second hand fittings
- No movement of fixtures like toilets, taps, and showers
If you’re very cost-conscious and happy to DIY your bathroom renovation may cost as little as $5,000 to $20,000. But, there’s a catch. Unless you’re a qualified plumber, builder or waterproofer, the stuff you can do yourself is pretty limited.
You could tile floors, and walls, as long as you don’t interrupt any waterproofing. But tiling is difficult and extremely time consuming - you’ll need plenty of Youtube tutorials, spare tiles for mistakes, and lots of tools. You could replace some fittings, and fixtures, like towel rails, toilet roll holders, and possibly vanities. But replacing taps and mixers is usually best left to plumbers.
As well as tiling, and replacing fixtures, you could paint, and install a new mirror.
At this price range, you’ll be able to buy a few new fixtures, fittings, and possibly a vanity. Maybe even a showerbox. But your budget will run out very quickly if any of these items require much labour to install. Unless you’re qualified, it’s a good idea to combine professional help with your own labour to get the best possible value.
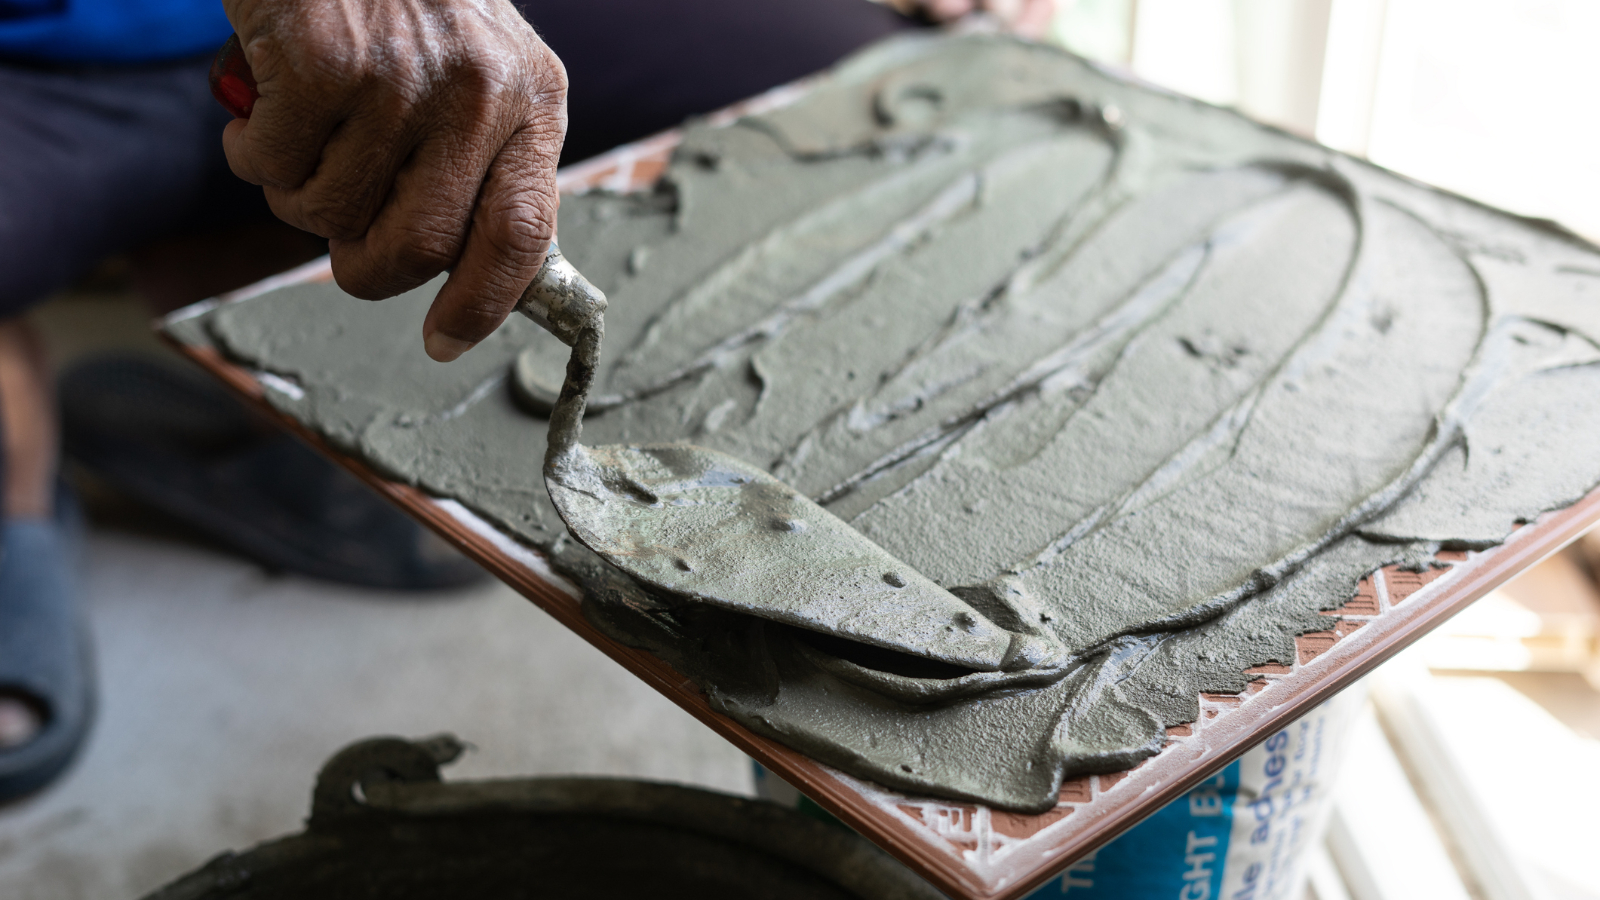
DIY is tricky and time consuming, but could save you thousands.
Budget - $20,000 to $36,000
- No DIY required
Can replace most fixtures, fittings, and surfaces in bathroom
Budget to mid-range options are affordable
With this budget you can most likely afford a new vanity, mirror, shower box, toilet, bath, large format tiling, painting, and new accessories. Possibly a new bath (if it’s an affordable one). This could completely transform your bathroom, and is good enough for most Kiwi homeowners.
At the upper end of this range you might be able to afford a tiled shower instead of an off-the-shelf box, especially if your bathroom is only small (like an ensuite). You may also get away with not doing any DIY at all - and end up with a very polished bathroom.
However, you may not be able to afford a large amount of small format tiling, tiled walls, or any structural changes. You may be able to move some fixtures and fittings that require consent, but keep in mind this will quickly erode your budget.
Mid-range - $39,000 - $65,000
- Mid-range to luxury fittings, finishes, accessories
No DIY required
Can change all surfaces, including structural changes
Changes requiring consent are in budget
If you want to really transform your bathroom, making structural changes and repositioning showers, baths, toilets, vanities, and sinks - this is your budget range. With this budget you could tile most of your space, including feature tiles such as smaller format mosaics. You could have a walk-in shower, underfloor heating, new windows or skylights to bring in more light and other luxuries.
You should be able to afford custom cabinetry, a marble, or stone cabinet top, a rain shower, and a free-standing bath. There will be no DIY required (obviously) and you can easily afford a project manager who’ll take a cut in exchange for organising trades, and delivering a finished bathroom.
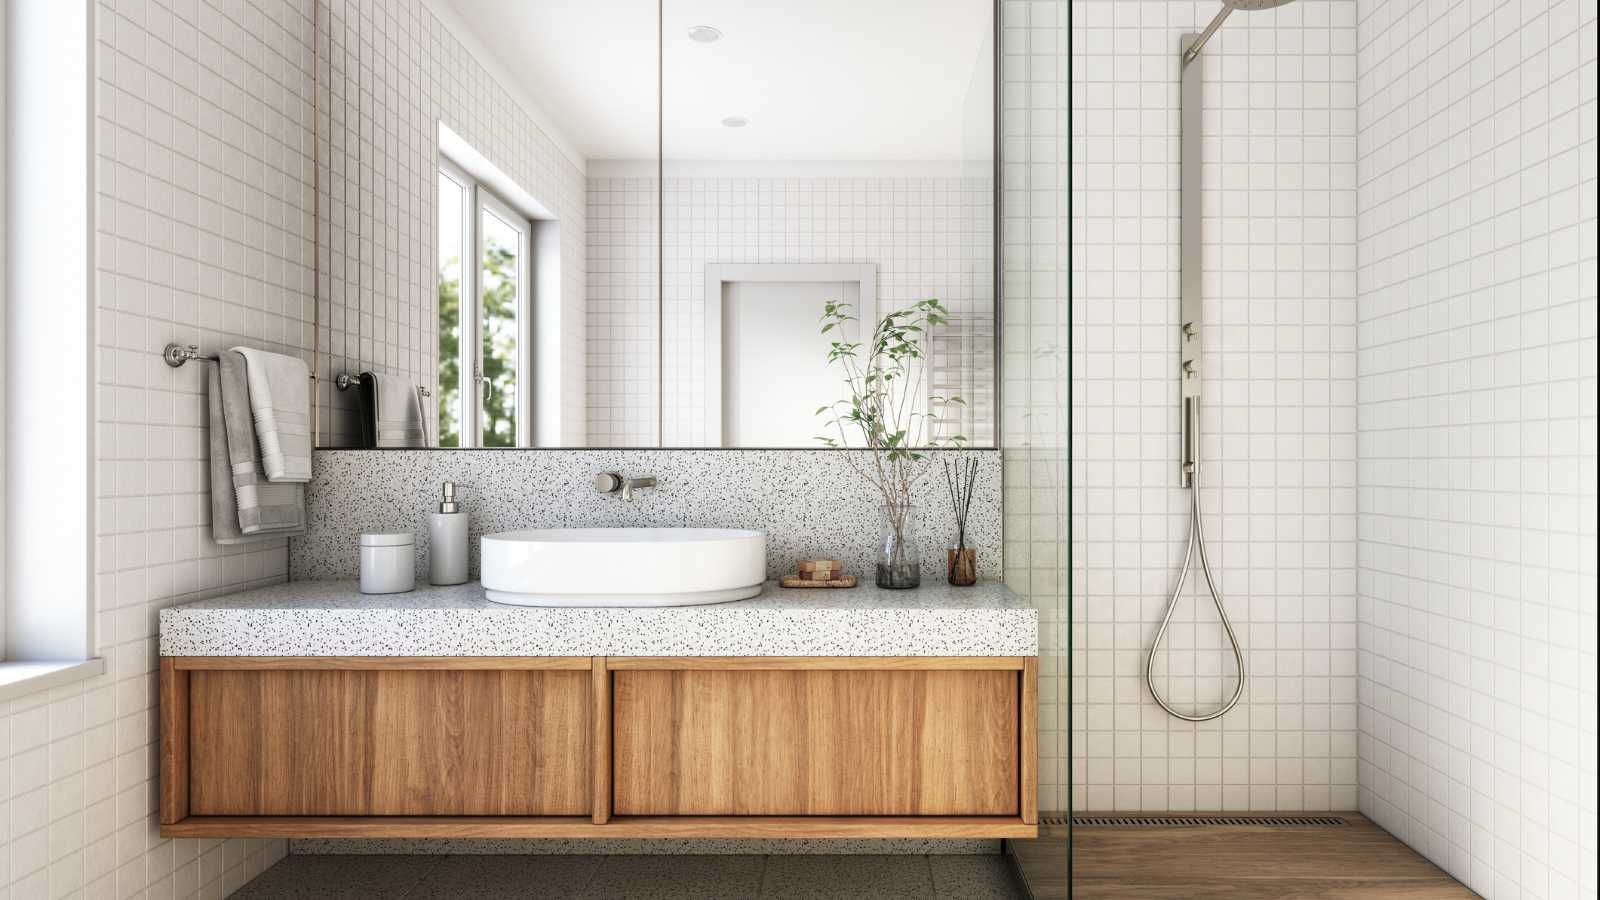
If you're spending $65,000+ on a bathroom, you'll get the good stuff (you'd hope so).
Premium bathroom - $65,000+
- The best of the best fittings, fixtures, and finishes
Structural changes and work requiring consent are easily affordable
Adding a new bathroom is possible
If you want the best of the best; imported tiles, custom vanities, double showers, and all the mod cons, this is the budget range you need to be in. At this range, the sky’s the limit. You can make structural changes, add skylights, hire an interior architect, or designer, install lots of tiles, and build custom cabinetry.
Structural changes are affordable, and extending a structure to add an ensuite or extra bathroom may even be possible.
What’s your reason for renovating your bathroom?
Before you look at a single pinterest post, have a think about why you’re renovating. Your reason why will dictate the type of changes you make, your budget, and perhaps elements of the design. For example:
Renovating to sell: you’ll want maximum improvement for minimum cost. You may also need to consider potential buyers when making design choices - for example, if you’re in a wealthy area with an older demographic, a luxurious, classic bathroom design may be your best bet. If you’re in a first home buyer’s area, something affordable and modern may do the trick.
Renovating to rent: maximum improvement for minimum cost will be the priority again. You may also want to make changes that reduce wear and tear, like installing shower domes, hard wearing surfaces, and powerful extractor fans.
Renovating for you: when renovating for you and your family, the main priority is that you enjoy your new space. Because the end goal is a bit more ambiguous it can be easy to let your budget get away from you, and make design choices more difficult. It may be a good idea to get help from an interior designer to help you figure it all out.
The moral of the story is, your reason for renovating needs to inform all your other decisions throughout the process (particularly choices around cost). Keep that in mind and you’ll end up with a better bathroom.
How to figure out your bathroom renovation budget in advance
Time to get down to brass taps. It’s important to set your budget early in the process so that your project doesn’t go down the wrong path before you’ve nailed down the numbers.
Usually there are a few stages to setting a budget:
First, you’ll probably set an amount aside based on a guesstimate and what you’ve got available (or what the bank will give you).
Then you’ll come up with a design or concept by yourself or with the help of a designer. If you work with an interior designer, they’ll be able to give you an early indication of what’s possible within your budget.
Next, you’ll get quotes from suppliers, labourers, and/or a project manager to achieve your chosen design.
If you're lucky these quotes will be less than the amount set aside, but if they’re not you’ll either need to make cuts, or increase your budget.
The project starts and you’re away. If something unforeseen comes up during the renovation there is a chance the budget will need to increase.
IMPORTANT - Demand a fixed price quote, not an estimate
When you’re gathering quotes from tradies, and/or project managers it’s essential that you provide them with as much detail as possible. If possible, choose your tiles, fixtures, fittings, paints, accessories, and designs in advance, so that they can provide you the real costs of everything, not just estimates.
Demand a fixed price quote from day one, not an estimate. Estimates are just an educated guess, and if your tradies get them wrong the cost can quickly escalate (take a guess who pays the difference). Fixed price quotes are fixed - tradies will do a little extra work up front to figure out the costs, and if the actual costs are higher than the quote you don’t pay more.
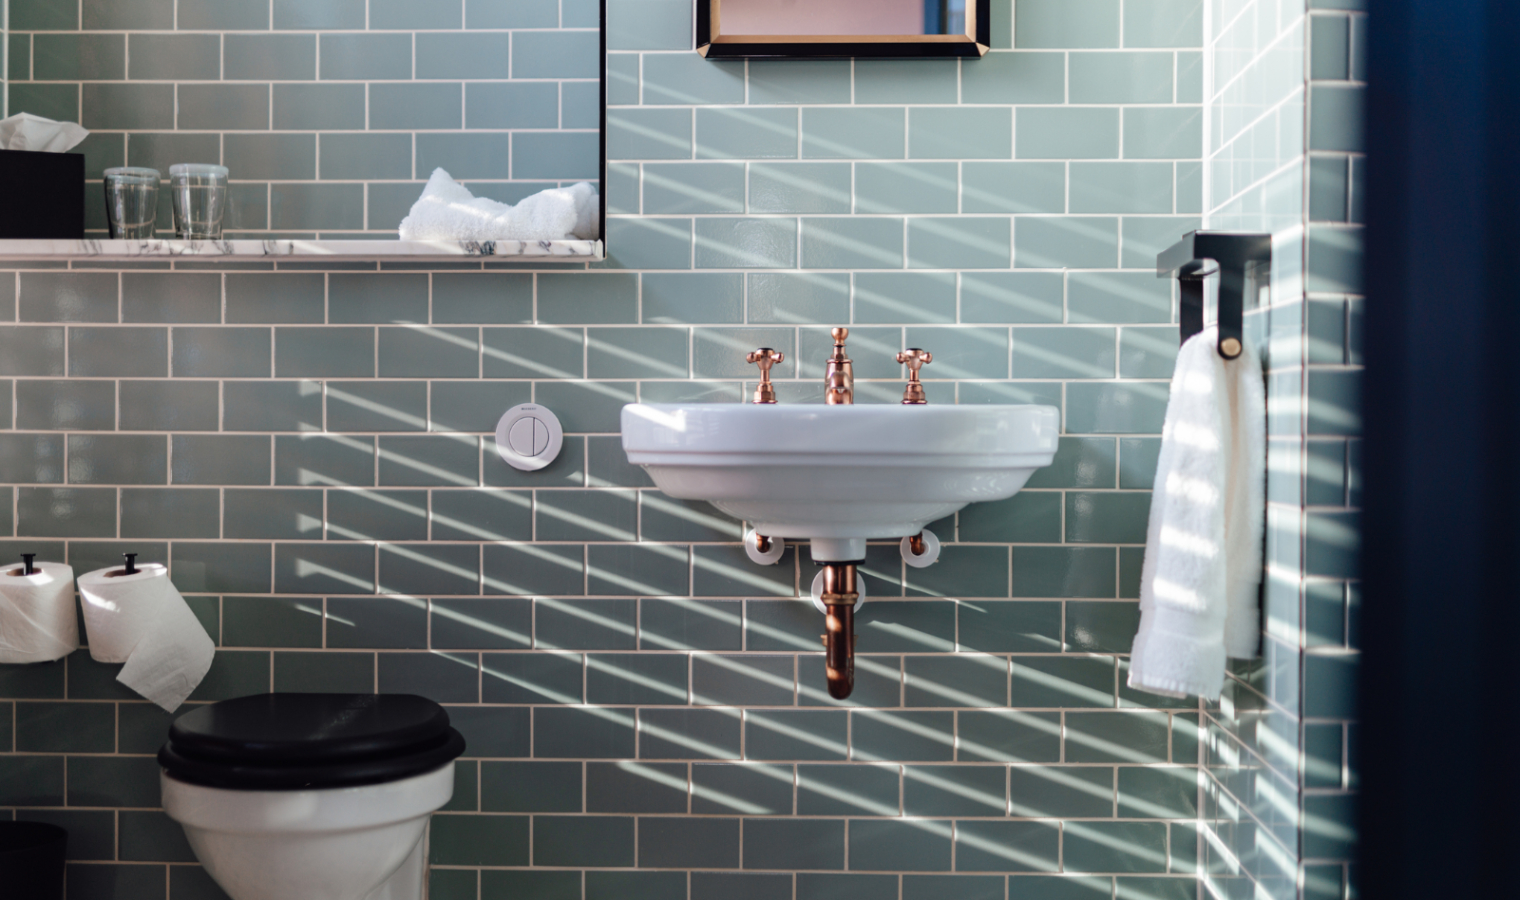
If your bathroom is smaller, you may be able to afford a better finish for less.
How long will it take?
Bathroom renos take longer than you might think. You might spend a month or two getting finance and council approval, then coming up with ideas. Then the build phase could take anywhere from 1 to 12 weeks, depending on the scale of the project, availability of materials, and how busy the tradies are in your area.
It’s always best to get a clear idea of timeframes early in the project, then account for another month or two for unforeseen delays. And if you’re on a tight timeline, avoid imported materials, custom fixtures, and try to avoid any work that requires council consent.
9 ways to save money on your bathroom renovation in NZ
1. Avoid making changes after work has started
Changing your design after the reno has started could cost you serious money and delay your timeline. It’s worth doing the design work upfront to make sure you’re happy before you get started.
2. Don’t move plumbing or electrical
Moving plumbing and/or electrical services, like your shower, toilet, bath or taps, can be costly and may require council consent. If you can, it’s always best to keep this stuff where it is to avoid extra cost.
3. Focus on cosmetic stuff
New tiles, new fixtures, and new paint can completely transform a bathroom. Sticking to purely cosmetic changes can have a big impact and it shouldn’t cost much.
4. Minimise tiling
Tilers in New Zealand can cost an absolute fortune. A single bathroom could cost thousands, and two bathrooms could top $10,000, depending on how much tiling you need and the type of tiles you choose. Using larger tiles, vinyl, and keeping tiling to your shower and floor could mean big savings.
5. DIY (or manage the project yourself)
The more you can do yourself, the more you’ll save. That said you need to know your limits and avoid biting off more than you can chew. Easy DIY jobs in the bathroom include demolition, painting, prep, and removing old fixtures. If you’re handy you might be able to do some tiling, but waterproofing, plumbing and electrical are best left to the pros.
If you’d rather not do the dirty work you could stick to managing the project yourself. Project managers typically charge 10% on top, so doing this could save you several thousand dollars.
6. Reuse fixtures
Your old bathtub might look brand new once it’s surrounded by fresh tiles, and your vanity might scrub up great after a quick sand and stain. It might take a little work but it could save you thousands per bathroom.
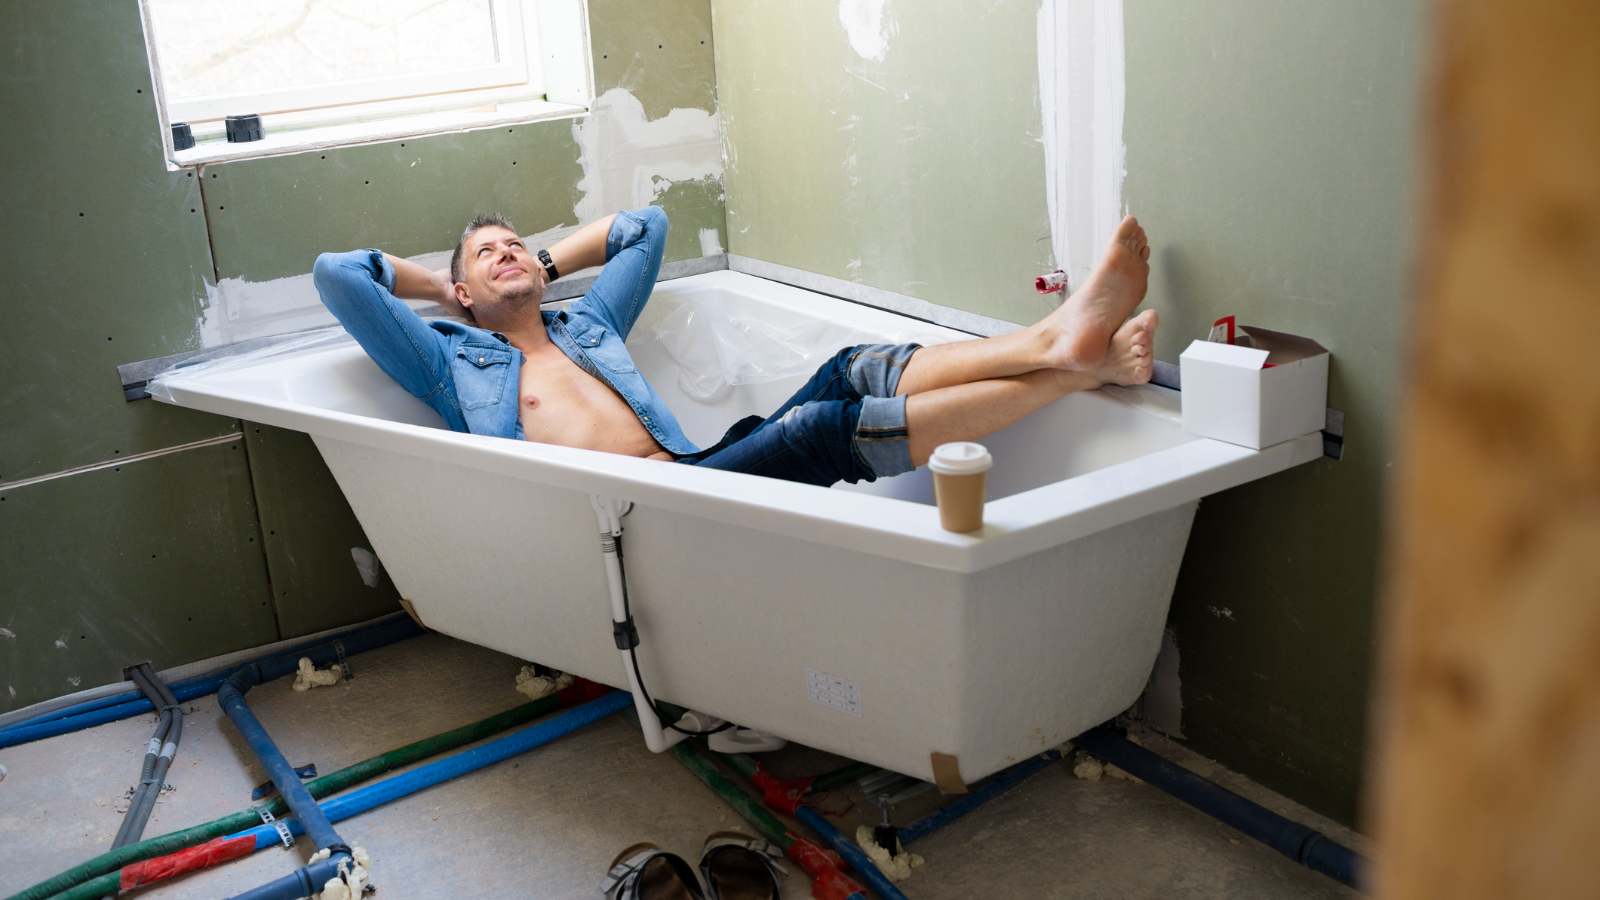
A little reno can make a big difference.
7. Go standard, not custom
Custom timber vanities can be an incredible feature in any bathroom, but they’re not cheap. Buying off the shelf could save you thousands of dollars.
8. Shop sales
It’s easier to buy all your bathroom fittings, fixtures, and materials from one supplier, but shopping sales and keeping an eye out for unused materials could equal big savings. You’ll need to be more organised and flexible to make this work, leaving at least six months to search second hand groups, scan TradeMe, or wait for supplier sales to come up.
9. Keep 15% contingency (and keep it a secret)
No renovation goes 100% smoothly. There’s a good chance that something will happen that’ll push the cost up, and you’ll need to be prepared for that. Keeping a reserve fund of 15% of the total planned reno cost should do the trick - and be sure not to tell your contractors or project managers you have spare cash. If there’s a hard budget ceiling they’ll be more likely to stick to it (and if they know there's more money, there's a good chance they'll find a way to spend it).
10. Demand a contract (and have a lawyer check it)
A contract is legally required for renovation work totalling over $30,000, but it’s a good idea for almost any reno. Make sure your project manager provides one and have a lawyer go over it to explain its meaning, and suggest changes to benefit you.
If you’re project managing and using several trades, written agreements with the trades may suffice.
11. Eliminate PC sums (or variable costs)
Most renovation contracts include something called PC sums, provisional sums, or cash allowances. This is an amount apportioned to all the costs that are not fixed yet, and may include fittings like taps and mixers, accessories, paint, tile choice and more.
It’s a good idea to question your provider on the PC sums, try to fix as many variable costs as possible before getting a quote, and to reduce or eliminate this part of the costing. That’s because the unfixed costs are usually where costs blow out.
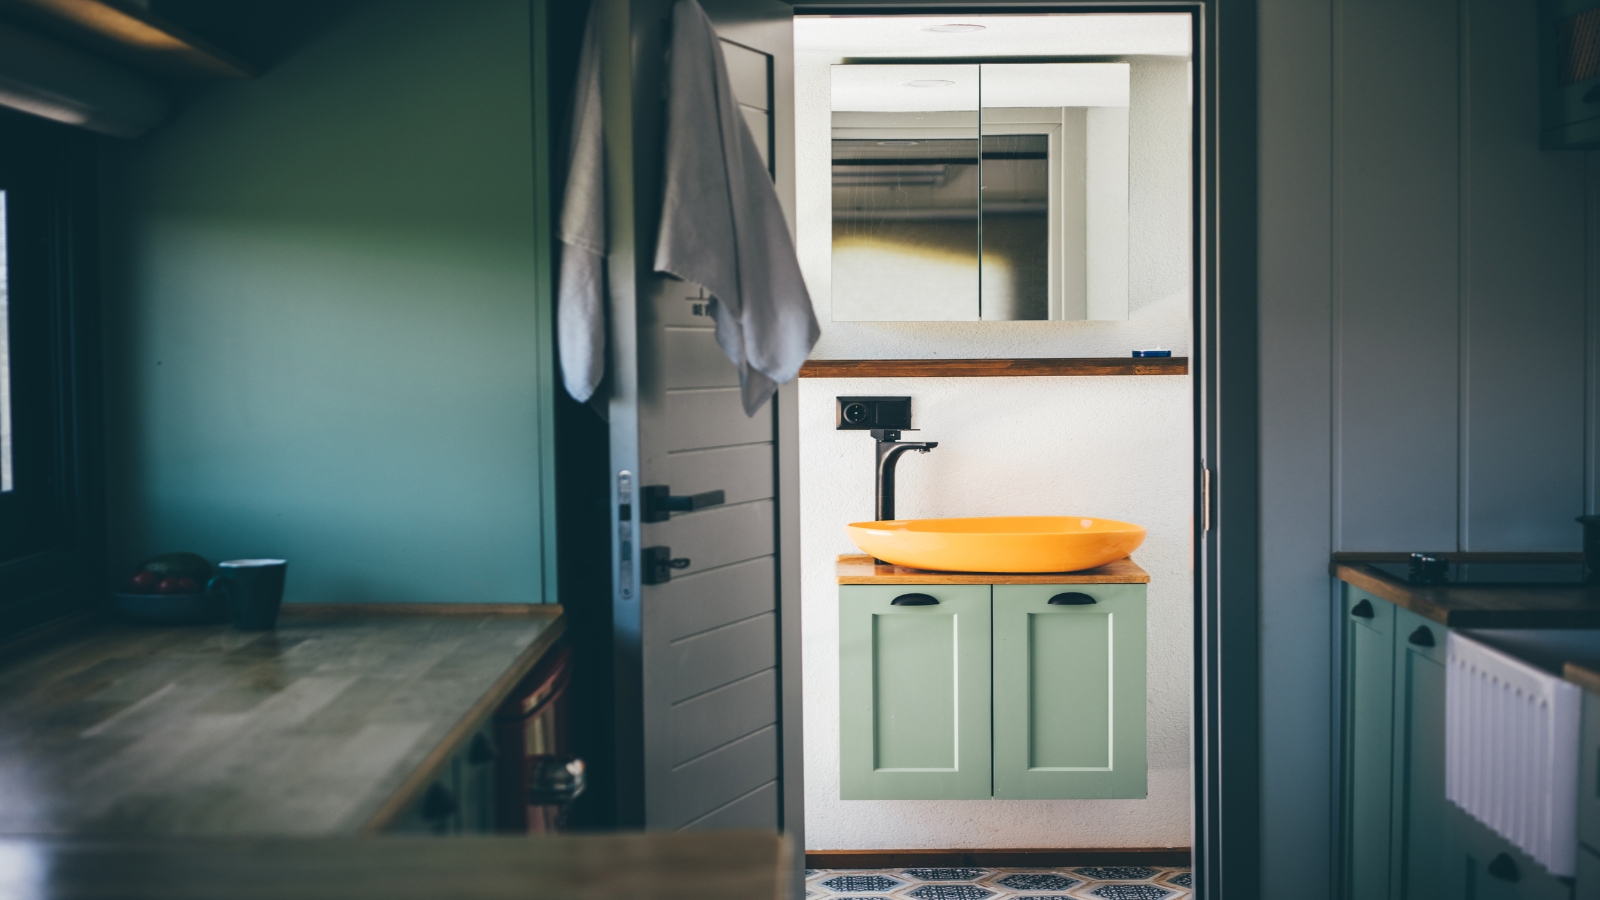
Bathroom renovations are a big job, but the results are often worth it.
Self manage or hire a project manager?
There are two options when it comes to renovations - you can either manage the project yourself, or hire a contractor or bathroom renovation company to do it for you.
Hiring a project manager is obviously the easiest option. They’ve done it all before so they’ll know how long things will take, how much it will cost, and have relationships with labourers and suppliers. They can help with design, choosing materials, and fixtures, then source and organise all the trades so that they’re coming at the right time with a clear plan. For their trouble, they’ll take at least 10% of the total renovation cost.
Doing it yourself is a lot more work and can be stressful, so it’s usually only a better option if you’re experienced, have a tight budget, or your project is small. You’ll need to source your own materials and labourers, then get your own estimates, organise the work, and any fixes required.
The bathroom renovation process
2. Concept and feasibility - during this stage you’ll figure out the rough outlines of what you want to achieve and whether it’s possible or not. This is a great time to engage an interior designer or interior architect to help.
3. Drawings and design - at this stage you’ll need detailed drawings of the bathroom, and to start choosing fixtures and fittings.
4. Costing - once you’ve got the design down, it’s time to get quotes for everything required to fix the job from all the relevant trades. When you get a quote make sure it’s a fixed price quote, not an estimate, and ask about availability to make sure everyone fits with your timeline.
5. Surveying, inspections, & council consent - most small scale renos don’t require council consent, but if you’re waterproofing a new area, moving plumbing, or extending a structure you might need to. The cost will be a percentage of the renovation cost, and may require inspections and surveys.
6. Building - last but not least, the trades come and complete the project. This will start with demolition, then electrical & plumbing, then painting, waterproofing, tiling, installing of fixtures, and finishing (in roughly that order). If you’re project managing, you’ll need to line up all trades at the correct time and in the right order (which can be tricky if you’re inexperienced).
7. Inspection - once the reno’s done, it’s a good idea to inspect the results to make sure you’re happy. If you’re not, contact the responsible tradie as soon as possible to have the problem rectified.
8. Enjoy!
Author




Search
Other articles you might like